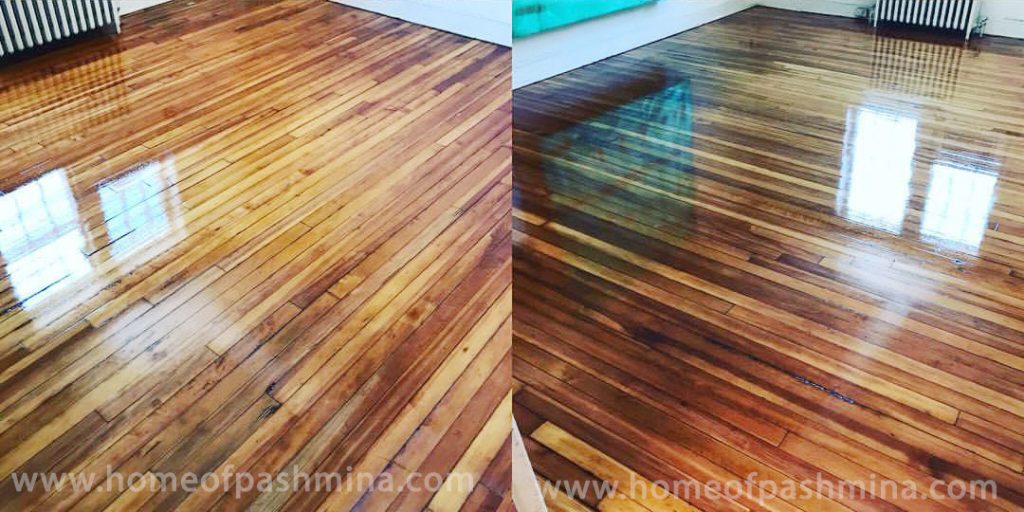
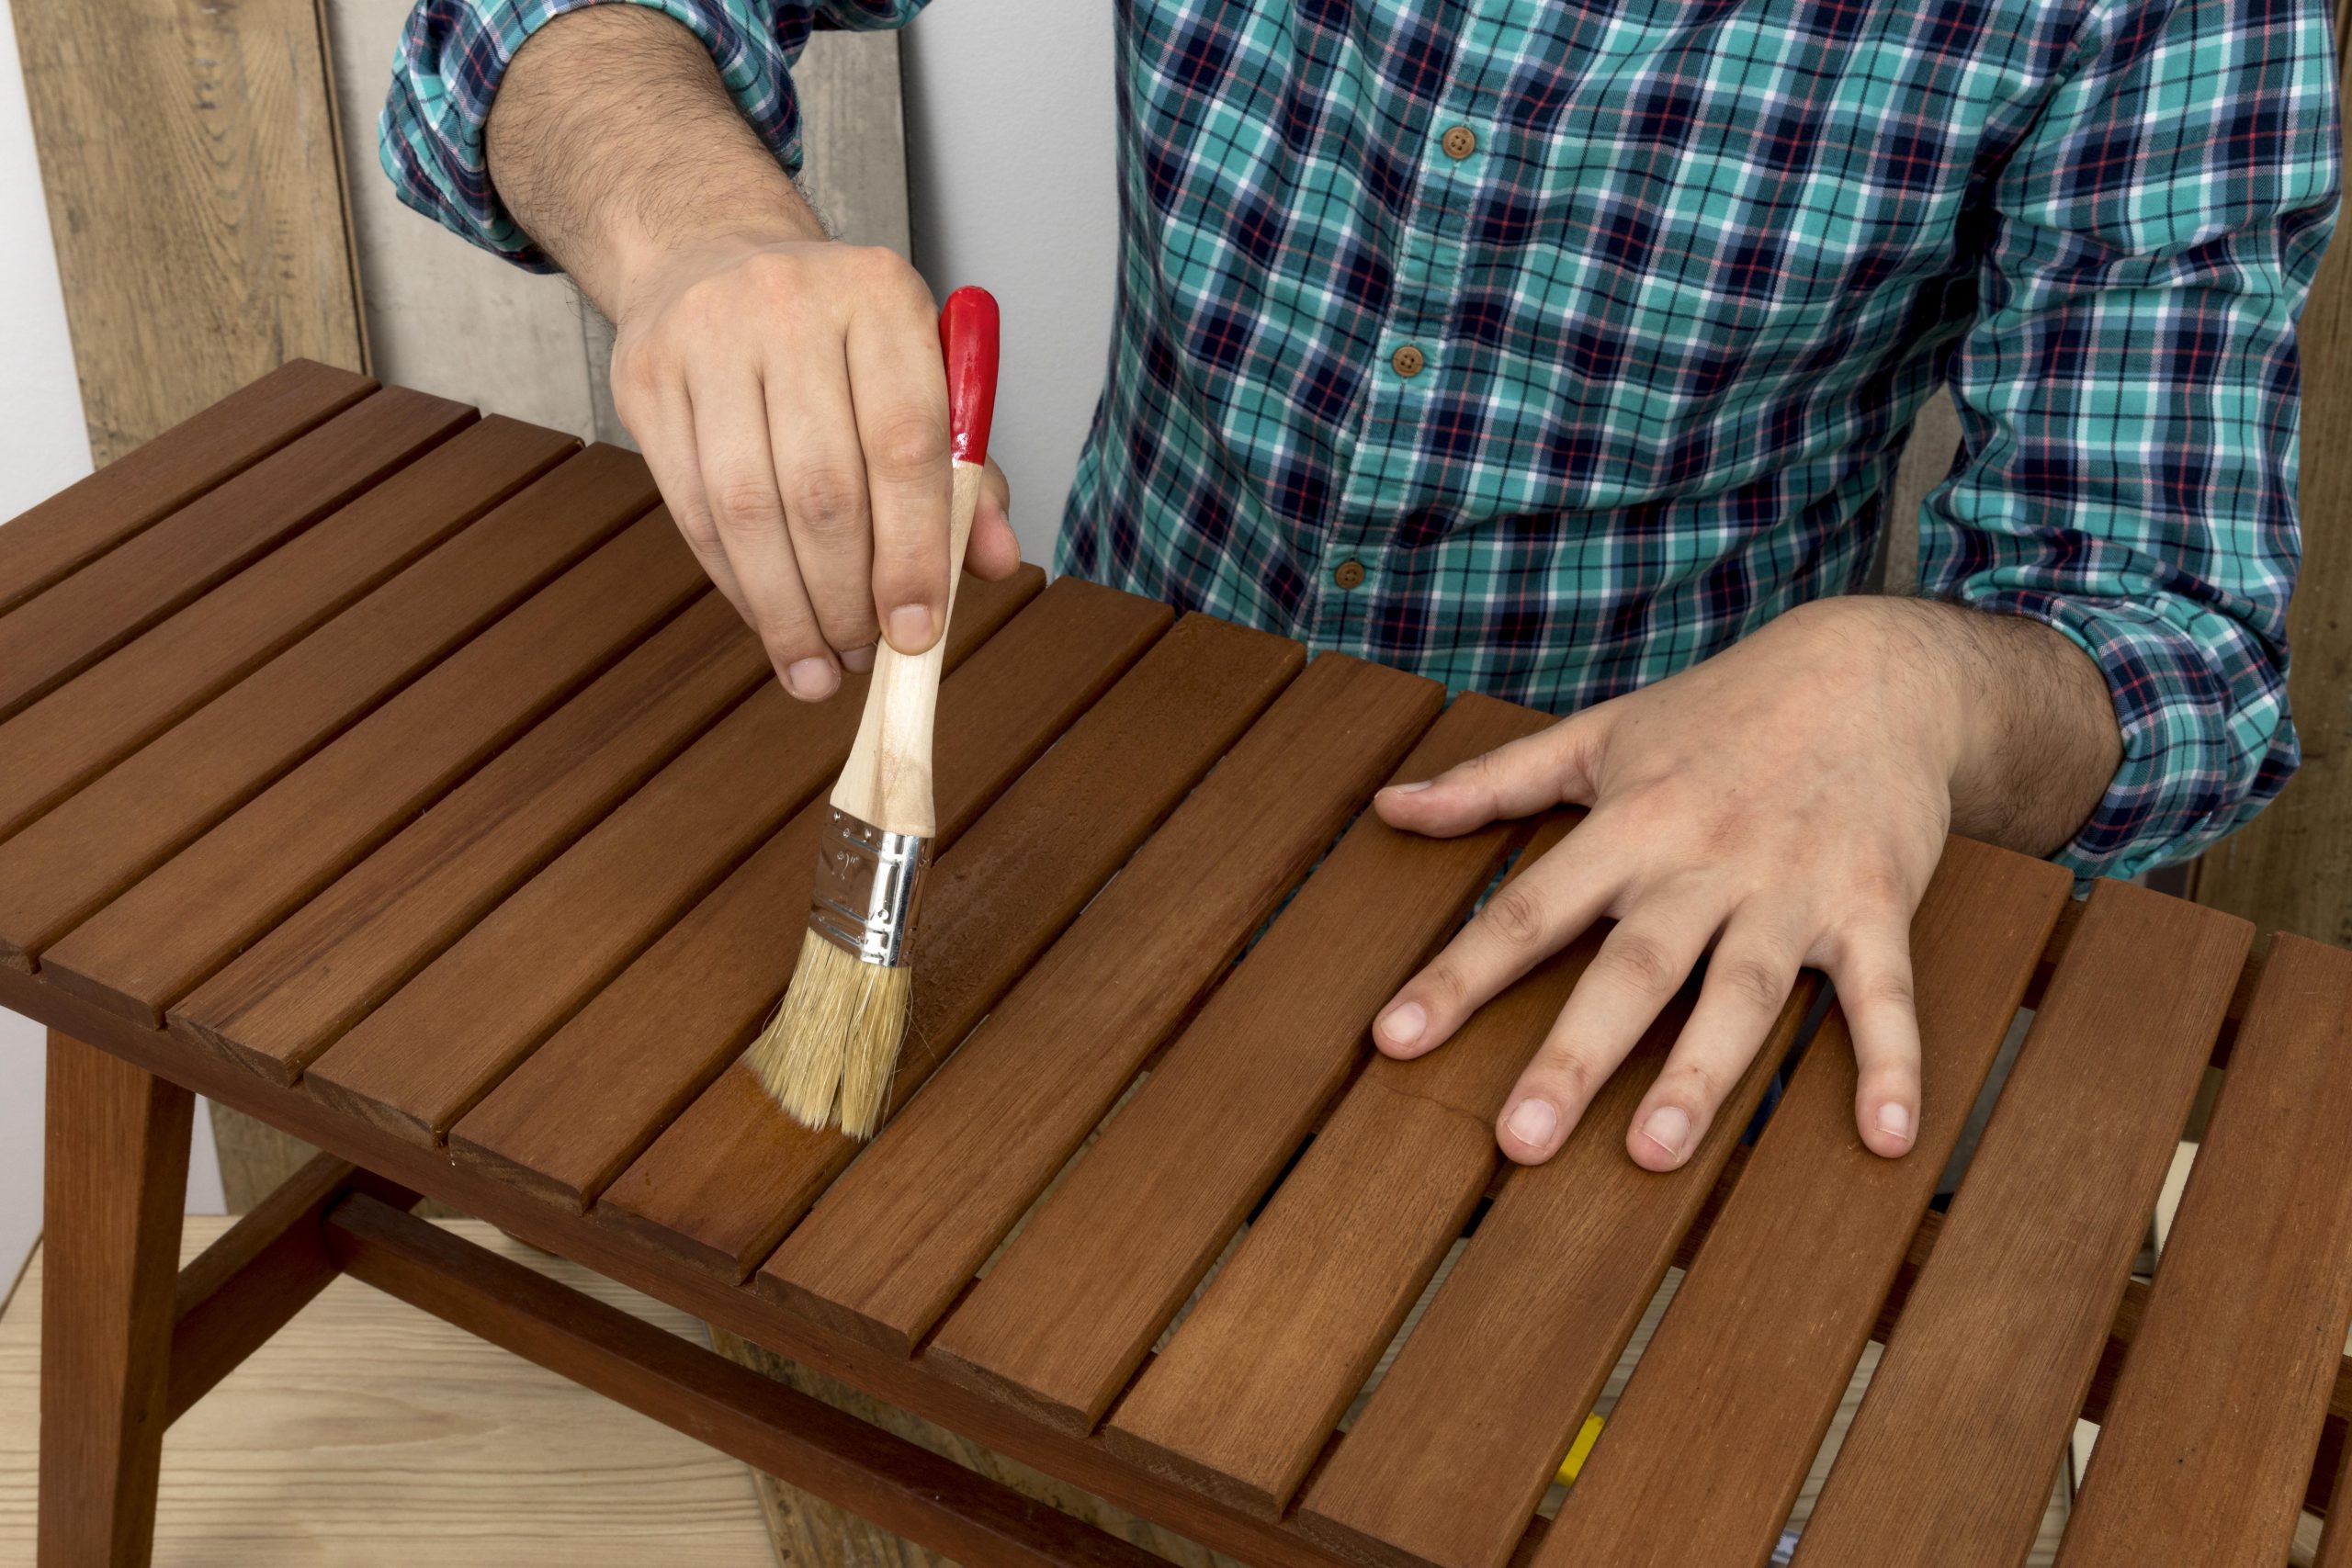
The best way to apply polyurethane on furniture is by using a fine-bristled brush or foam pad. Ensure the surface is clean and sand between coats for a smooth finish.
Applying polyurethane to furniture is a crucial step in protecting the wood and enhancing its appearance. This clear finish seals the wood, guards against scratches, and contributes to the furniture’s longevity. A good application begins with preparation; the wood must be sanded and free of dust.
Many prefer a satin or semi-gloss polyurethane for a subtle shine that lets the natural beauty of the wood shine through. Taking your time during the application process, maintaining a dust-free environment, and applying thin, even coats will lead to a professional-looking finish. Remember to allow adequate drying time between coats and before using the furniture to avoid imperfections.
Introduction To Polyurethane Finishes
Polyurethane finishes offer a protective layer that keeps furniture looking beautiful and durable over time. These finishes are a popular choice for wood furniture because they seal the wood, protecting it from water, scratches, and other damage. Applying polyurethane correctly can enhance the natural beauty of the wood while providing a long-lasting finish.
Importance Of Protective Finishes
Wood furniture is an investment. Without a protective finish, it can easily get damaged by everyday use. Spills, stains, and scratches can ruin the surface. Polyurethane creates a barrier that helps preserve the wood’s integrity, keeping it safe from harm.
Types Of Polyurethane Varnishes
- Oil-based polyurethane: Offers a warm amber glow, takes longer to dry.
- Water-based polyurethane: Dries faster, less odor, retains wood color.
- High-gloss finish: Shiny and highly reflective, highlights detail.
- Semi-gloss finish: Balance of shine and matte, hides imperfections.
- Satin finish: Low shine, subtle, great for modern aesthetics.
Prep Work: Key To A Smooth Finish
Prep Work: Key to a Smooth Finish, the unsung hero of successful polyurethane applications, ensures your furniture looks professionally treated. The secret lies behind meticulous preparation steps to create the perfect canvas for your finish.
Sanding Fundamentals
Sanding is essential for a flawless polyurethane coat. It eliminates imperfections and roughness, creating a smooth base. Follow these steps:
- Choose the right grit. Start with coarse and progress to fine.
- Always sand in the direction of the wood’s grain to avoid scratches.
- Gradually transition to higher grit sandpapers for a silky surface.
A well-sanded piece sets the stage for spectacular results.
Cleaning And Dust Removal
After sanding, removing every spec of dust is critical. Dust left behind will ruin your finish. Here’s how:
- Use a vacuum cleaner with a brush attachment to clear big particles.
- Wipe the surface with a tack cloth to pick up finer dust.
- Ensure the area is entirely dust-free before applying polyurethane.
Remember, a clean environment is just as important as a clean surface.
Choosing The Right Polyurethane For Your Project
Choosing the right polyurethane for your furniture project is vital to achieving a durable, beautiful finish. Whether you’re refinishing an heirloom table or protecting a newly built bookshelf, the correct type of polyurethane will enhance the wood’s natural beauty and ensure long-lasting protection.
Oil-based Vs. Water-based Polyurethane
Understanding the differences between oil-based and water-based polyurethane is key to selecting the best option for your furniture project.
- Oil-based polyurethane offers a warm, amber glow and is highly durable. Ideal for pieces that will see heavy use.
- Water-based polyurethane dries quickly and remains clear. It’s best for light-colored woods and low-odor environments.
Factors In Selecting The Ideal Product
Several factors influence the selection of the ideal polyurethane for your furniture:
| Durability | Drying Time | Color Impact | Environmental Factors |
|---|---|---|---|
| Oil-based polyurethane is more durable | Water-based polyurethane dries faster | Oil-based can yellow over time | Water-based is low-odor and low-VOC |
Pick a product that fits the intended use, desired appearance, and environmental considerations of your project.
Tools And Materials For Application
Embarking on a furniture makeover with polyurethane offers a shield of protection while enhancing the wood’s natural beauty. Before diving into the application, it is vital to equip yourself with the right tools and materials. Choosing the appropriate items can make the difference between an amateur finish and a flawless, professional sheen. Let’s explore the essentials for applying polyurethane to ensure the best outcome for your furniture projects.
Essential Tools Of The Trade
The right gear is a game-changer in achieving that smooth, inviting finish polyurethane is famous for. Here’s the checklist of must-haves for your project:
- Sandpaper: Varied grits for pre-polish prep and between-coats smoothing.
- Tack Cloth: To pick up dust and debris post-sanding.
- Stirring Stick: A clean stick to stir polyurethane without causing bubbles.
- Applicator: Foam brushes or mohair rollers for an even application.
- Quality Brush: For precision and smooth finishing touches.
- Disposable Gloves: To keep hands clean and protect from polyurethane.
- Respirator or Dust Mask: Safety first when dealing with fumes and dust.
- Protective Eyewear: To guard eyes against splashes.
Why Quality Brushes Make A Difference
Not all brushes are created equal. Premium brushes spell perfection for your furnishing endeavors. The right brush offers:
- Smooth Coverage: Quality brushes ensure a finish without brush marks.
- Brustle Integrity: They don’t shed bristles that can mar the surface.
- Easy to Clean: High-grade brushes clean quickly, lasting longer for future use.
Investing in a quality brush aligns with a commitment to excellence. The results are not only immediate but also enduring, imparting a lustrous durability to your furniture pieces.
Brush-on Techniques For Flawless Coverage
Achieving a glass-smooth finish on your furniture project isn’t just about slathering on some polyurethane. In fact, the brush-on technique can be the key to flawless coverage, transforming a good piece into a great one. When done correctly, it protects your piece while enhancing its beauty. Let’s delve into the art of applying polyurethane with a brush for that perfect gleam.
Applying Thin Layers
Building up your furniture’s protection and shine begins with mastering the thin layer technique. Let’s break it down:
- Start light: Dip your brush lightly into the polyurethane. You want just enough to cover without overloading.
- Wipe excess: Gently brush off the excess against the can’s rim to avoid drips.
- Apply evenly: Use long, even strokes to apply a thin coat. This makes drying quicker and reduces the likelihood of run marks.
Brush Strokes And Avoiding Bubbles
The right brush movements are crucial for a smooth surface. Follow these steps to keep bubbles away:
- Select a quality brush: Choose a fine-bristled brush, specifically designed for polyurethane.
- Brush gently: Use a light touch. Pressing too hard can introduce air and create bubbles.
- Keep it wet: Work into the wet edge of the area you’ve just brushed to avoid lap marks.
Note: If bubbles appear, don’t panic. Smooth them out with gentle brushing or allow them to settle on their own as the polyurethane levels and dries.

Wipe-on Polyurethane: An Alternative Approach
Applying polyurethane can breathe new life into your furniture, protecting it from water and scratches. Many choose brush-on poly for its thickness, but wipe-on poly offers a great alternative. It’s thinner, making it easy to apply without leaving brush marks. This method ensures a smooth, professional finish, even for beginners.
Preparing The Wipe-on Mixture
Getting the consistency right is crucial when preparing your mixture for application. By mixing equal parts of polyurethane and mineral spirits or paint thinner, you create a thin, easy-to-apply mixture that dries quickly with less odor.
- Choose a clean container for the mixture.
- Measure the polyurethane and thinner precisely.
- Stir gently to avoid creating bubbles.
Application Process For Wipe-on Poly
- Ensure your furniture is clean and sanded. Dust off any particles afterward.
- Dip a lint-free cloth or foam brush into the mixture.
- Apply a thin, even layer on the furniture’s surface. Follow the wood’s grain.
- Let each coat dry as per the manufacturer’s recommendations, usually a couple of hours.
- Repeat the process, typically applying 2-3 coats for the best finish.
- After the final coat, sand lightly with a fine-grit sandpaper. Then, wipe away dust.
Tip: Work in a well-ventilated area to ensure faster drying and to reduce fumes. Also, wear gloves to protect your hands.
Drying Time And Curing: Patience Pays Off
Drying Time and Curing: Patience Pays Off. Applying polyurethane on furniture protects and enhances its beauty. The secret to a flawless finish lies not just in the application but also in respecting the drying time and curing process. Remember, patience during these stages rewards you with durable and stunning results.
Understanding Drying Versus Curing
It’s vital to know the difference between drying and curing when working with polyurethane. Drying is when the solvent evaporates, leaving the polyurethane touch-dry. Curing is a chemical process where the product reaches its full hardness and becomes fully durable. This takes longer than drying.
Ideal Conditions For Curing Polyurethane
Create the perfect environment for curing. Temperature and humidity levels greatly influence curing times. Aim for a warm, well-ventilated space. Here’s a simple guide to ideal conditions:
- Temperature: Between 70-77°F (21-25°C) is best.
- Humidity: Aim for a relative humidity of 50%.
- Avoid airflow directly on the surface as it can cause dust to settle and imperfections to form.
Following these steps ensures a strong, clear, and professionally-finished piece that attracts admirers for years to come.

Sanding Between Coats For Perfection
For a flawless finish on your furniture, sanding between polyurethane coats is essential. This step eliminates imperfections and ensures a smooth base for subsequent layers. Grab your sandpaper, and let’s prepare for perfection.
Appropriate Sandpaper Grit Choices
Selecting the right sandpaper grit is crucial for a smooth finish. Begin with a medium-grit sandpaper for the initial coat. Move to a finer grit for subsequent coats.
- First Coat: Start with a 100-150 grit sandpaper to level off any irregularities.
- Intermediate Coats: Switch to a 220 grit sandpaper for a smoother surface without scratches.
- Final Coat: A 320-400 grit sandpaper provides the ultimate smoothness for your last application.
Technique For Sanding Between Layers
Proper technique ensures a perfect foundation for each layer of polyurethane. Here’s how to sand effectively between coats.
- Clean Surface: Remove dust and debris before starting.
- Even Pressure: Apply consistent pressure while sanding.
- Circular Motion: Use a gentle, circular motion to avoid scratches.
- Wipe Down: After sanding, wipe the surface with a tack cloth.
- Check Smoothness: Run your hand over the surface to feel for bumps or rough patches.
Follow these steps between each coat for a finish that’s smooth to the touch and pleasing to the eye.
Final Touches And Care For Polyurethane Finishes
Your furniture project is nearly complete, but the right final touches can take it from good to great. Final touches and care for polyurethane finishes are crucial. They ensure durability and enhance the piece’s visual appeal. This section will guide you through buffing your furniture for that extra shine and maintaining its surface.
Buffing For Additional Shine
Buffing is a simple yet effective way to add a glossy sheen to your furniture. Follow these steps:
- Wait for the final coat of polyurethane to dry completely.
- Use a fine-grit sandpaper (#320 or higher) to lightly sand the surface.
- Clean off the dust with a tack cloth or a damp rag.
- Apply a furniture paste wax using a soft cloth in a circular motion.
- Allow the wax to settle for 15 minutes before buffing with a clean cloth.
- For extra gloss, repeat the waxing and buffing process once more.
Maintaining Polyurethane-coated Surfaces
Maintaining polyurethane-coated surfaces ensures your furniture resists wear and tear. Keep these tips in mind:
- Avoid harsh cleaners that can strip away the finish.
- Use mild detergent and water for cleaning, followed by a dry cloth.
- For occasional deep cleaning, a mix of vinegar and water works well.
- Protect from direct sunlight to prevent the finish from fading.
- Use coasters and pads to shield the surface from heat and moisture.

Common Mistakes And How To Avoid Them
Applying polyurethane to furniture is a great way to protect and enhance its look. Yet, a few common errors can spoil the finish. Knowing what these mistakes are and how to steer clear of them ensures a flawless result. This guide is here to help.
Dealing With Drips And Runs
To achieve a smooth, drip-free finish, precision is key. Here are simple steps to avoid unwanted drips:
- Select the correct brush – A high-quality, natural bristle brush works best.
- Apply thin coats – Thick coats are more likely to run. Stick to thin, even layers.
- Inspect as you go – Always check for drips and gently smooth them out before they dry.
- Practice makes perfect – Test your technique on a scrap piece first.
Controlling Ambient Conditions
Environment plays a huge role in the application process. Follow these tips to control your workspace:
- Ensure good ventilation to help the polyurethane dry evenly.
- Monitor the temperature and humidity. Aim for 70-75°F and 50-70% humidity.
- Avoid windy conditions that could bring in dust and debris.
With these proactive steps, you’re well on your way to a beautiful, durable finish on your furniture.
Expert Tips For An Enhanced Finish
Applying polyurethane on furniture augments both its beauty and durability. Achieve a flawless finish with these expert guidelines. Ensure your hard work stands the test of time with a superior touch.
Adding Color Or Stain Under Polyurethane
Staining wood before polyurethane application enhances the natural grain. Follow these steps for a rich, deep finish:
- Select the shade that complements your wood.
- Sand the surface evenly to smooth out imperfections.
- Apply the stain with a brush or cloth, going with the grain.
- Let it dry thoroughly before the next steps.
Pro Tip: Test the stain on a hidden section to ensure the color is just right.
Polyurethane Application In Challenging Weather
Damp or cold conditions affect polyurethane drying times and finish. Here’s how to overcome weather challenges:
- Wait for low humidity for best results.
- If you must work in cold settings, add a space heater.
- Always ensure good ventilation to aid the drying process.
Remember: Cooler temperatures may require longer drying times. Check the manufacturer’s recommendations.
Equip yourself with patience and precision. Your furniture’s finish can outshine the rest. Happy applying!
Conclusion: Polyurethane Perfection Achieved
Applying polyurethane to furniture can transform its appearance and durability. A smooth, clear finish protects wood while showcasing its beauty. This guide aimed to demystify the process, ensuring that even beginners feel confident in achieving polyurethane perfection.
Summary Of Key Takeaways
- Choose the right type of polyurethane, water or oil-based.
- Prepare the surface thoroughly with sanding and cleaning.
- Apply thin coats, sanding lightly between layers.
- Use the appropriate tools, like a high-quality brush or foam pad.
- Be patient as proper drying time ensures the finish cures correctly.
By following these steps, your furniture will not only look better but will also have long-lasting protection.
Encouragement To Experiment And Learn
Practice makes perfect! Don’t shy away from trying different techniques. Each piece of furniture is unique, and so is every application of polyurethane. You’ll find your stride through experimentation.
Remember, dedication and patience are your best tools. Every attempt is a step closer to mastering the art of polyurethane application.
Frequently Asked Questions Of Best Way To Apply Polyurethane On Furniture
How Do I Get A Smooth Finish With Polyurethane?
Sand the surface smoothly before application. Apply thin, even polyurethane coats. Sand lightly between coats. Use a high-quality brush or foam applicator. Allow adequate drying time before use.
What Is The Best Applicator For Polyurethane On Furniture?
The best applicator for polyurethane on furniture is a high-quality, natural bristle brush or a foam brush for a smooth finish.
Do You Brush Or Rag Polyurethane?
You can either brush or rag on polyurethane. Brushing gives a thicker coat, while wiping with a rag provides a thinner, smoother finish. Choose the method that best suits your project’s needs.
What Happens If I Don’t Sand Between Coats Of Polyurethane?
Not sanding between polyurethane coats can lead to a rough texture and less adhesion. Future layers may not stick well, and the finish may appear uneven or have imperfections.
Conclusion
Applying polyurethane to furniture protects and enhances wood’s natural beauty. Remember, prep work is key, and choosing the right tools makes a difference. Short, even strokes ensure a smooth finish. Follow drying times for best results. Your patience will reward you with stunning, durable furniture that stands the test of time.

I am a home Specialized writer and blogger based in the USA, Canada, Australia & UK. I have four years of experience in home and all types of Category. So I work on solving these issues and give various Resource on these issues.


Hi
https://homeofpashmina.com/
Hi
I am inserted